1) Make sure you are working with strong pieces of cardboard:
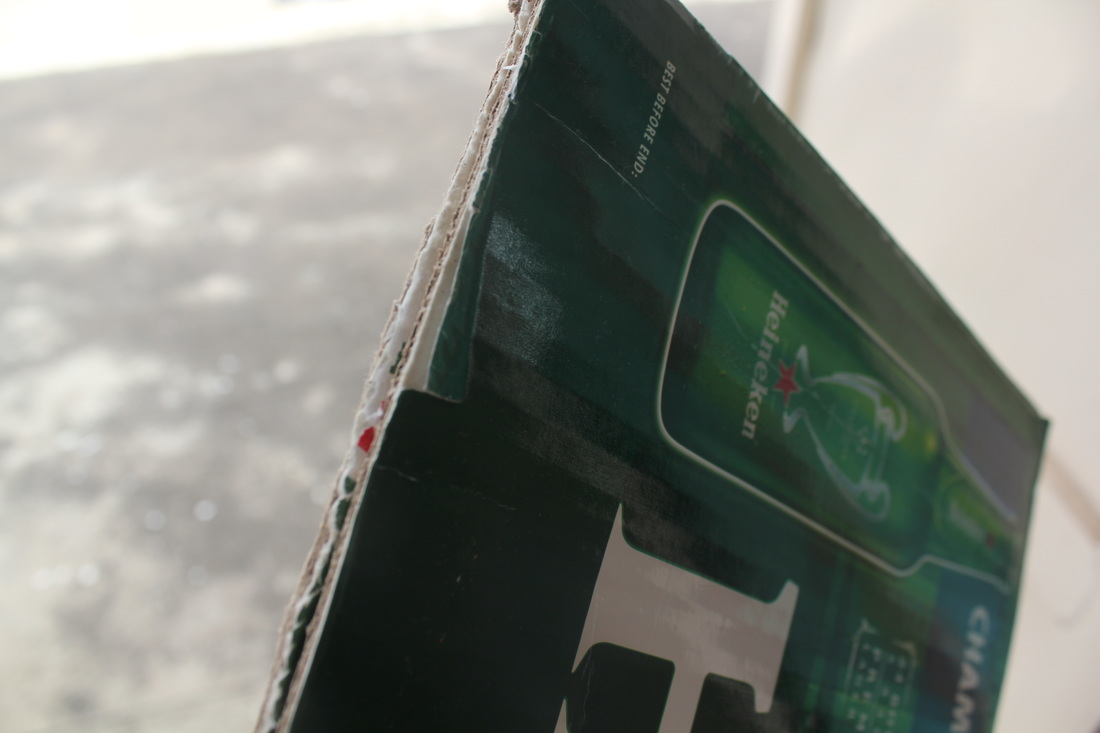
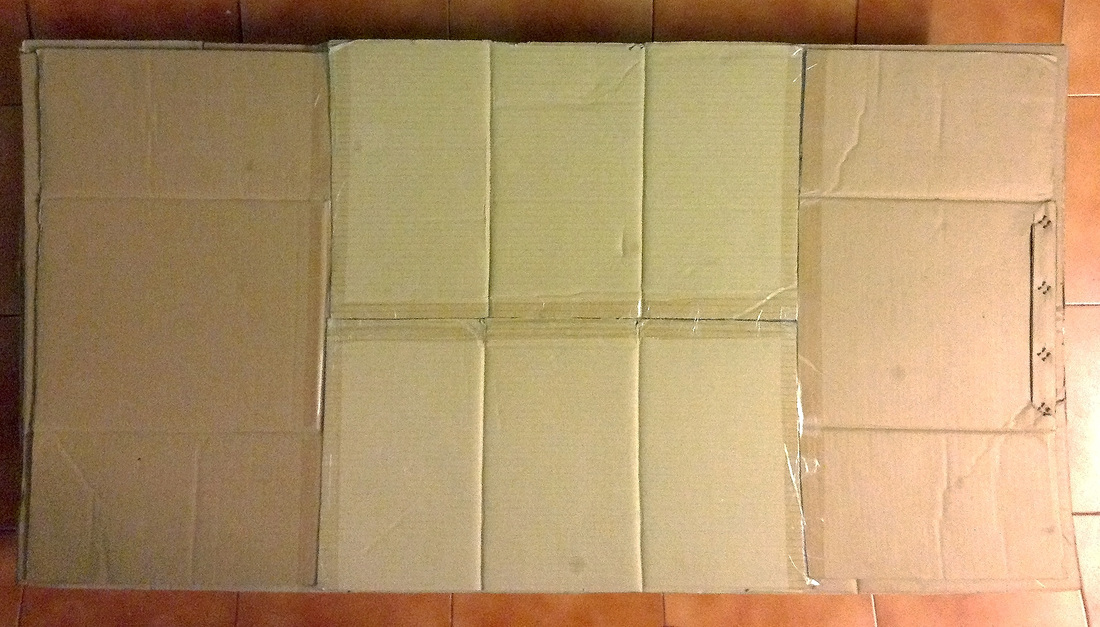
The amount of paper layers in a cardboard piece determine how strong the piece is. 5-layers cardboard usually works well, if the layers are not distorted by being exposed to other weights before. In that case, the corrugated layers become flat and the cardboard looses structure. I usually discard the parts of the boxes that are flattened, and use the parts where the layers are still in shape.
The amount of paper layers in a cardboard piece determine how strong the piece is. 5-layers cardboard usually works well, if the layers are not distorted by being exposed to other weights before. In that case, the corrugated layers become flat and the cardboard looses structure. I usually discard the parts of the boxes that are flattened, and use the parts where the layers are still in shape.
|
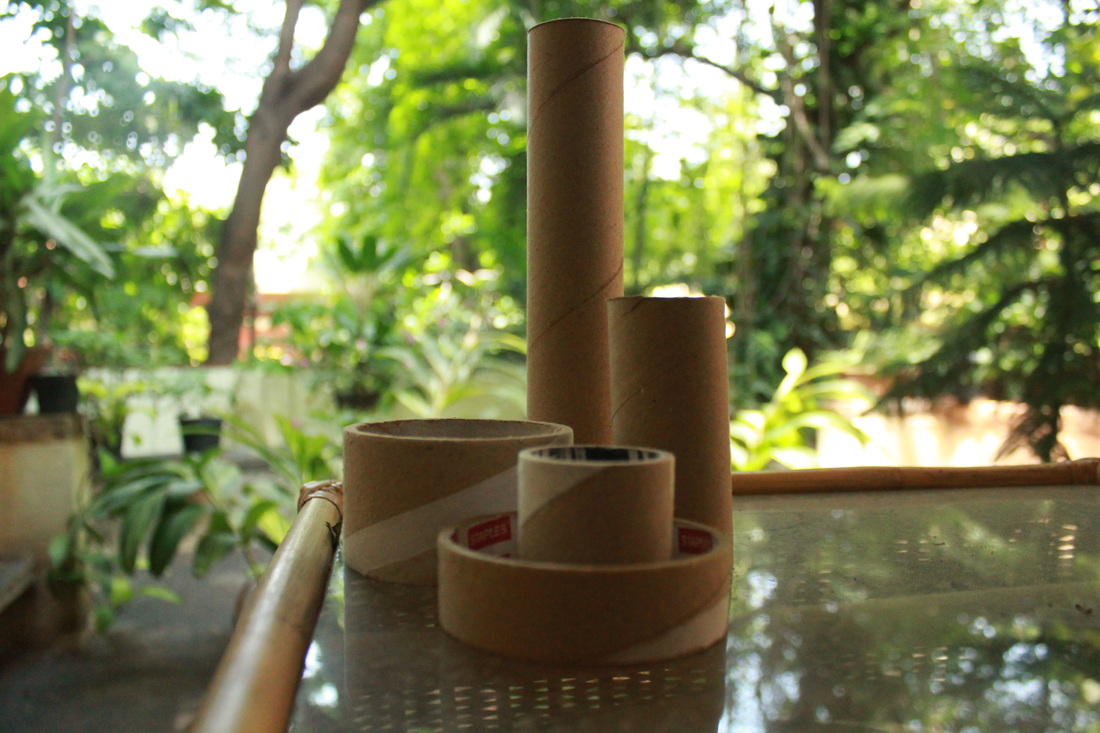
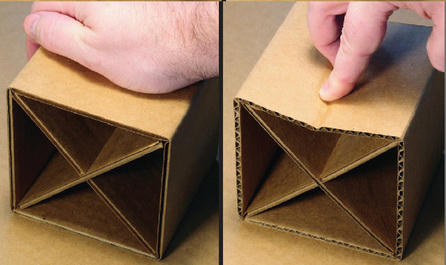
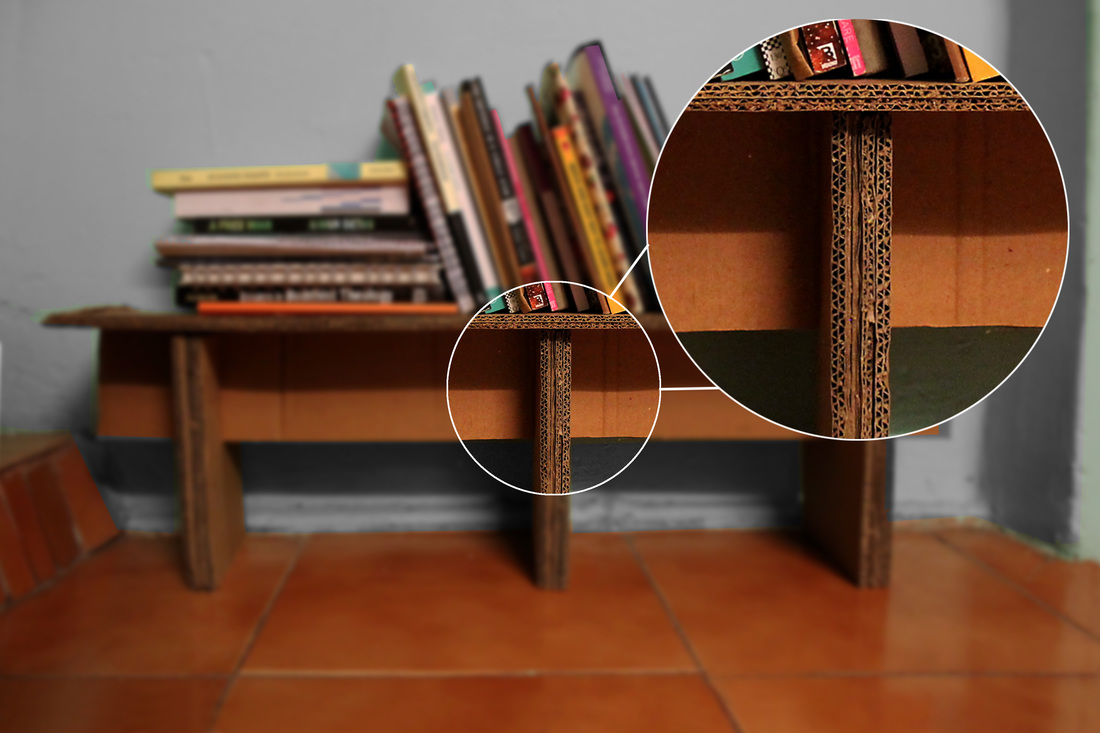
The strongest pieces of cardboard are paper rolls, placed vertically. They have solid walls going all the way down from the top to the bottom to support any weight on top. These walls have a circular cross-section (you get a circle if you slice through them), making the forces spread through the structure (no part of any wall is loaded more than any other).
|
2) Understand the direction of the layers:
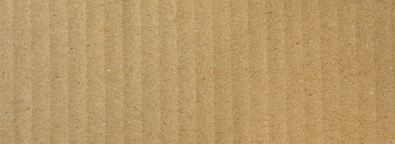
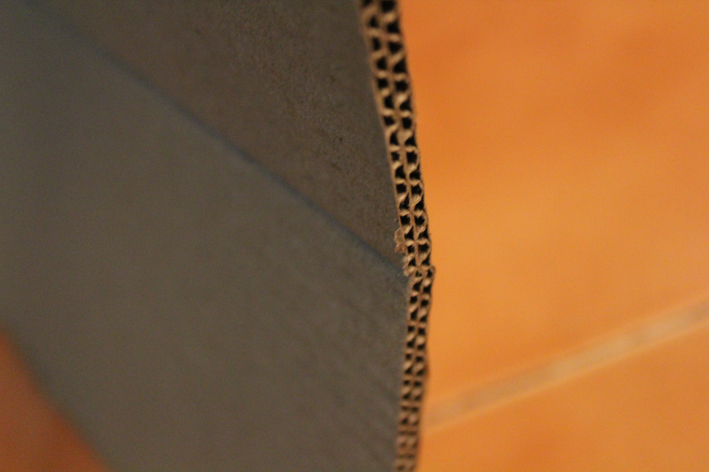
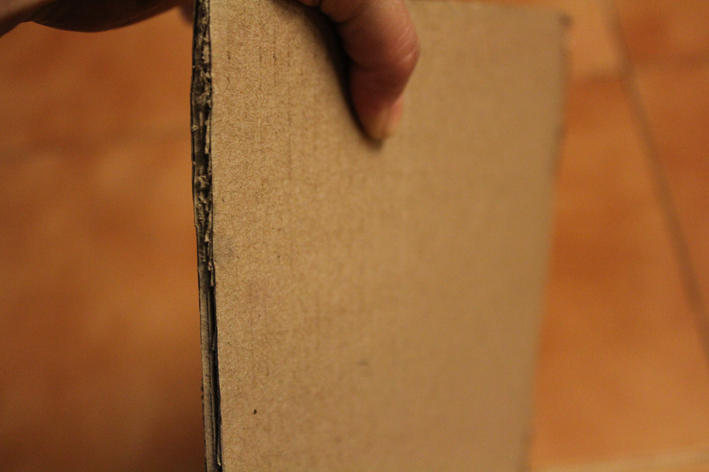
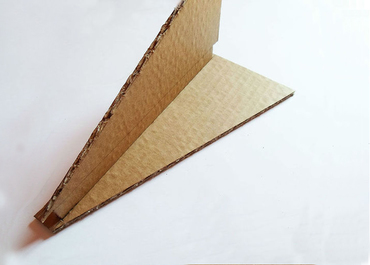
Cardboard is composed by the overlap of corrugated and flat layers of paper. It is important to understand the disposition of the layers, because the cardboard stretches and bends differently along and against it. This can significantly affect the load capacity of your furniture. The next three images correspond to: a) The corrugated layer, b) The flat layer. c) Direction of the layers. You can determine it looking closely to the cardboard, or feeling it.
Cardboard is composed by the overlap of corrugated and flat layers of paper. It is important to understand the disposition of the layers, because the cardboard stretches and bends differently along and against it. This can significantly affect the load capacity of your furniture. The next three images correspond to: a) The corrugated layer, b) The flat layer. c) Direction of the layers. You can determine it looking closely to the cardboard, or feeling it.
This is what happens when you try to fold the cardboard along and against the direction of the layers respectively:
3) Always score before bending:
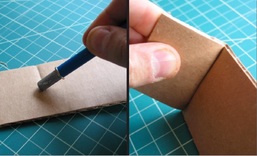
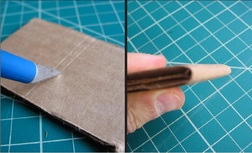
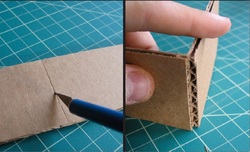
Score refers to marking the cardboard before folding or cutting it. This is extremely important for a) Giving sharp edges to a structure, b) Do not damage the cardboard while bending, and c) Being able to cut in straight lines. You can score with a pencil or using the cutter without cutting through.
Scoring is important for the following three moments:
4) Make pieces stronger:
This is the biggest challenge I faced while building my furniture. One obstacle is that most of the material I use comes from used boxes, meaning that the cardboard is already folded. If I apply a force on top of a vertically placed piece, the cardboard will surely bend. I have to find ways to work with the material I have, without discarding pieces.
The second reason why this is the biggest challenge, is because I decided not to glue pieces for the furniture, but explore with junctions and the own limitations of the cardboard.
Here I explain 7 strategies I have used, in order to make cardboard pieces stronger:
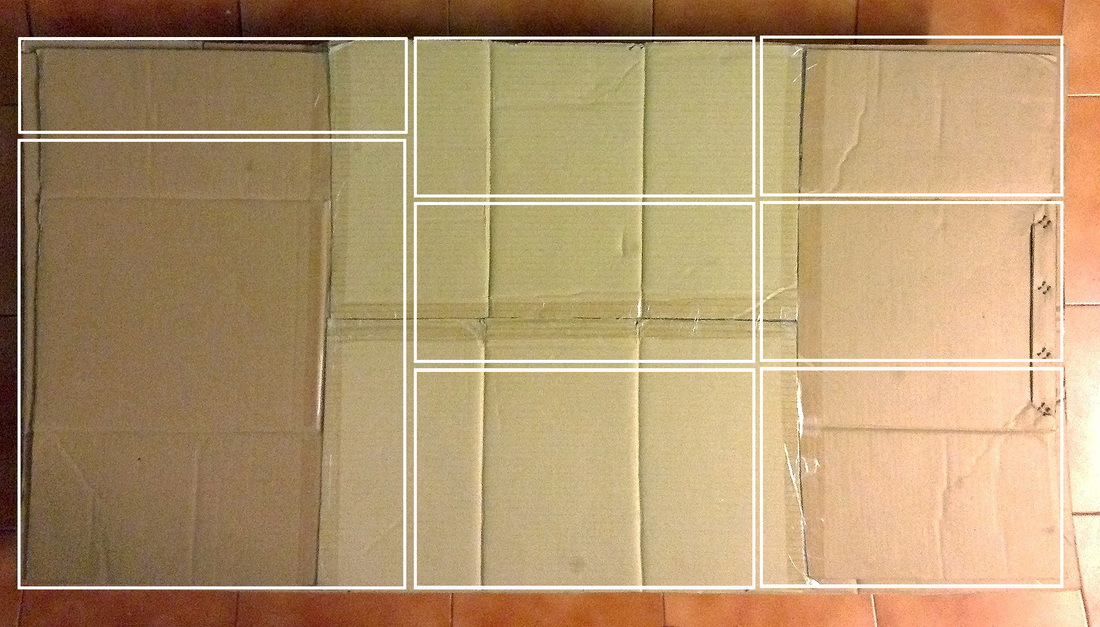
For larger surfaces, you must create layers in opposite directions to the original layer. See the following example and what would be an ideal arrange of the next layer of cardboard pieces.
b) Join vertical and horizontal axis
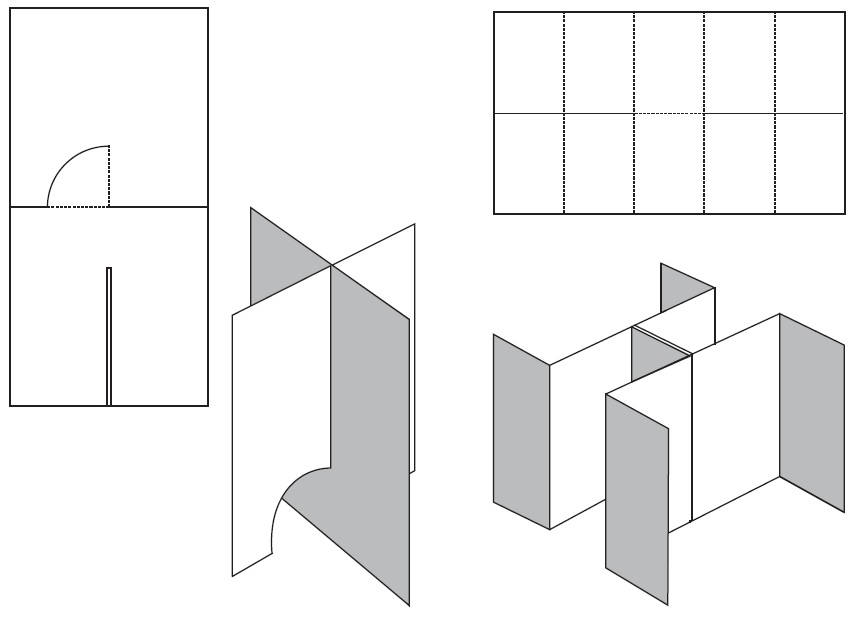
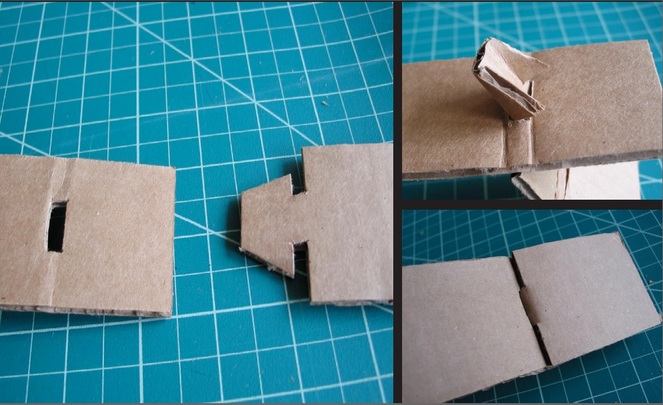
Another powerful way to gain stability is by joining pieces in different axis, creating support particularly for flat pieces that require reinforcements. The trick here is to create tabs in both pieces that fitting together create "crossed" shapes. (See explanation about tabs below).
You can experiment with joints for different purposes.
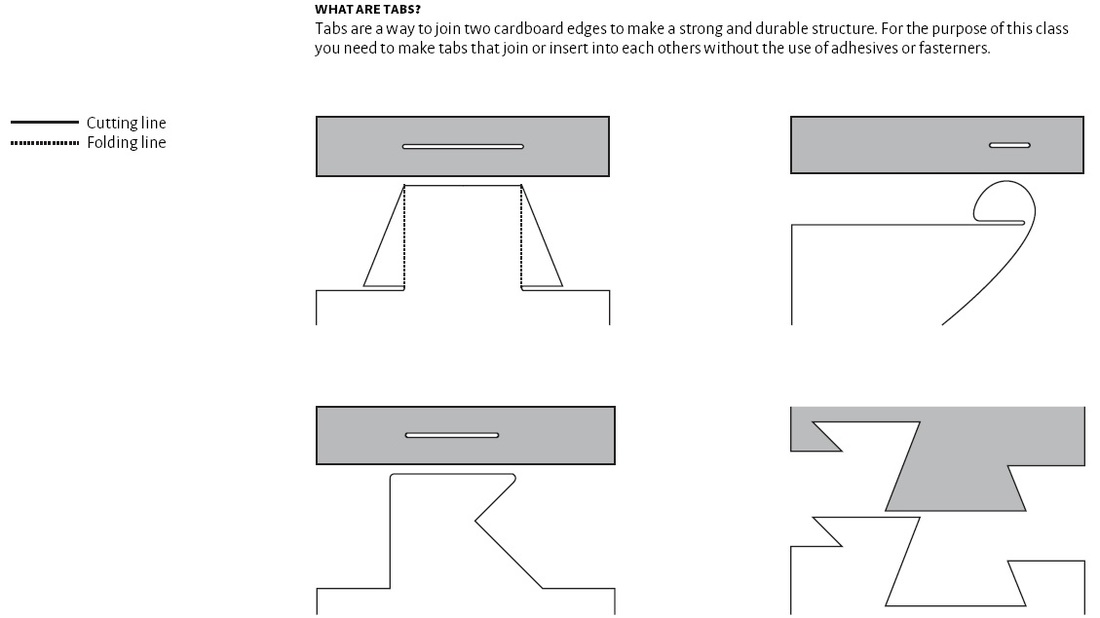
c) Help yourself creating tabs:
*The following image belongs to the online course "Design Foundations" by the University of Washington.
*The following image belongs to the online course "Design Foundations" by the University of Washington.
The most powerful tabs are those that go through the pieces of cardboard and its own structure unfolds inside to prevent the two pieces from separating. You can experiment with many shapes. See the example below.
|
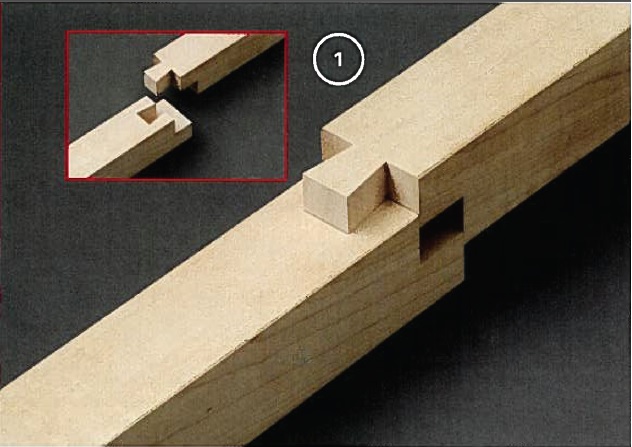
d) Create special joints
Click here to download 2-pages explanatory PDF This type of joints look like blocks. The images on the PDF correspond to wood instead of cardboard, but they are a good reference to understand how to create different types of tabs that don't need glue and can help a structure to gain stability. |
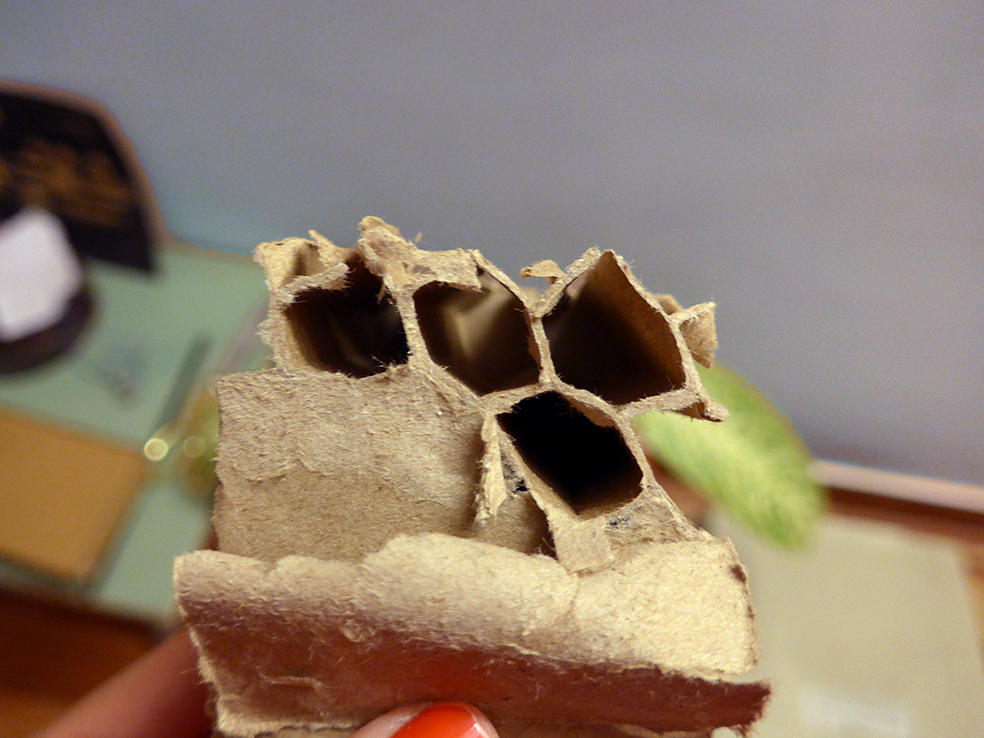
e) Imitate honeycomb
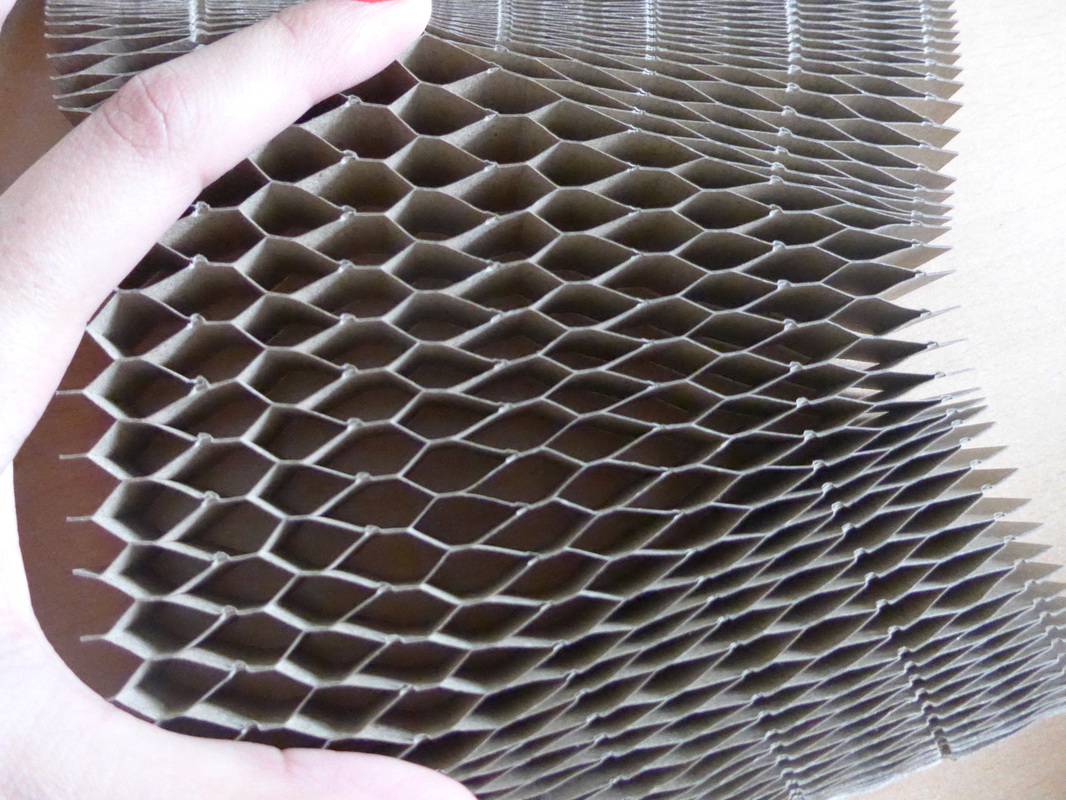
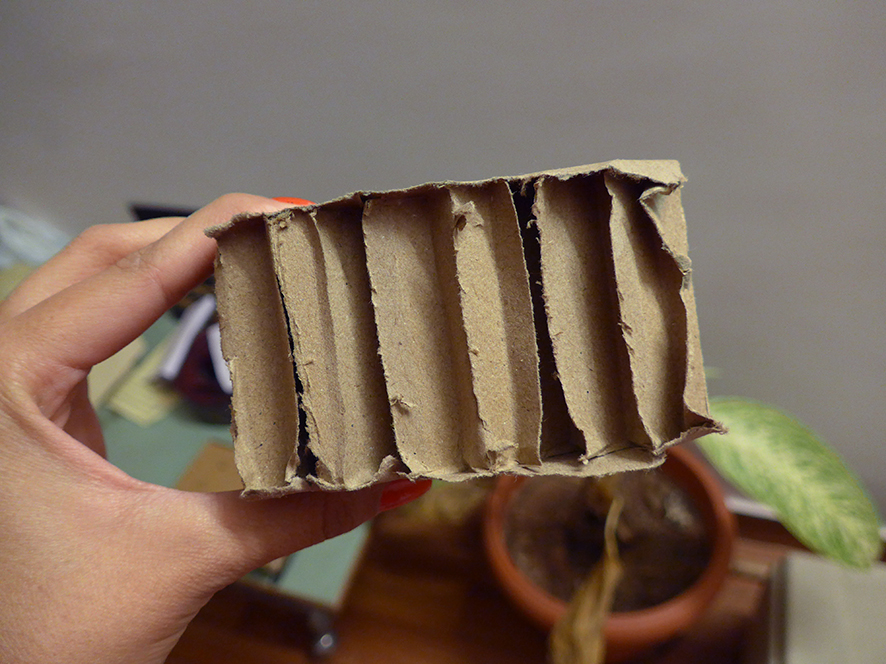
Cardboard honeycomb is a type of paper structure with the shape of a honeycomb (first image below). When the structure is placed between two flat surfaces on top and on the bottom, creating a sandwich (second image below), it is able to support very heavy weights. (Boxes made with honeycomb cardboard are used for heavy operations as military airdrop!).
You can build structures with the same principle, not necessary creating a full honeycomb shape, but some sort of structure that you can place between two flat surfaces and apply forces on top of these surfaces.
|
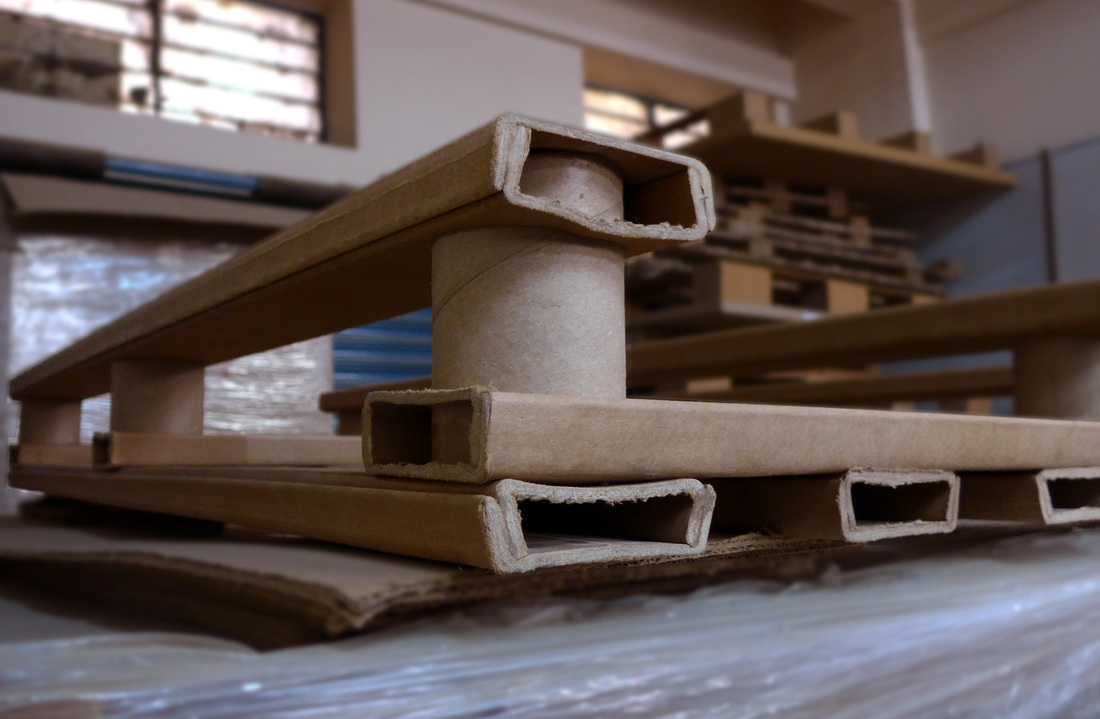
f) Combine layers of cardboard with paper rolls
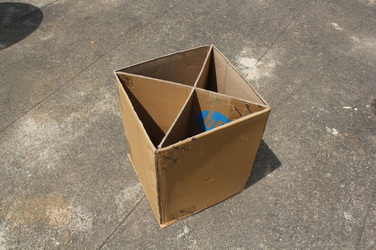
I saw this technique in a cardboard factory. Folding the cardboard to create the rectangular shapes with non-sophisticated equipment may be difficult, but it is possible to intervene paper rolls at different heights as a way to connect pieces in a structure. The internal and external forces acting on the structure will be supported by the paper rolls. |
g) Combine materials
I personally didn't use this strategy, but I do know that there are a bunch of natural fibers than can be useful to create layers and make pieces stronger. Also, you can use newspaper and create layers of paper mache, keeping a cardboard layer as the main internal structure.
I personally didn't use this strategy, but I do know that there are a bunch of natural fibers than can be useful to create layers and make pieces stronger. Also, you can use newspaper and create layers of paper mache, keeping a cardboard layer as the main internal structure.
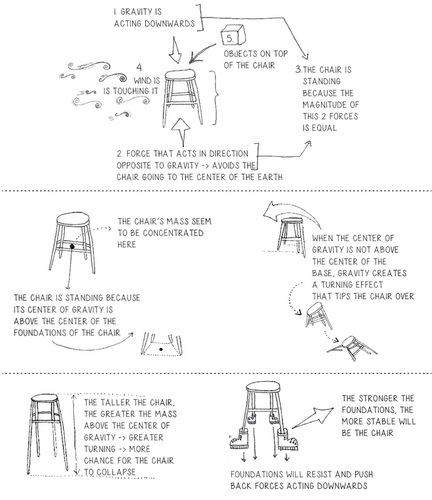
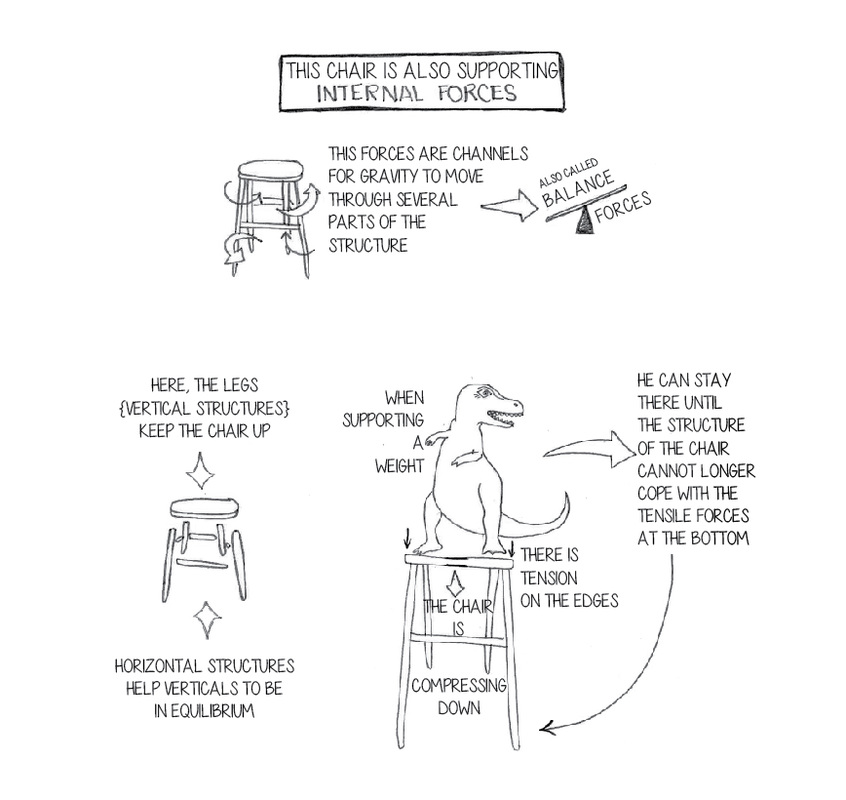
5) Be mindful of how are you applying forces:
Apart of making pieces stronger, you need to be thoughtful on how are you applying forces in general to your structures. This determines if the furniture tilts or collapses over time. Here is a basic reminder of how the forces act in the structures, taking the example of a chair:
Apart of making pieces stronger, you need to be thoughtful on how are you applying forces in general to your structures. This determines if the furniture tilts or collapses over time. Here is a basic reminder of how the forces act in the structures, taking the example of a chair:
6) Get materials:
You don't need any complex tool to build furniture with cardboard. I use a big cutter, metallic rulers, a compass, scissors and a paper punching machine if I need to create holes in the cardboard.
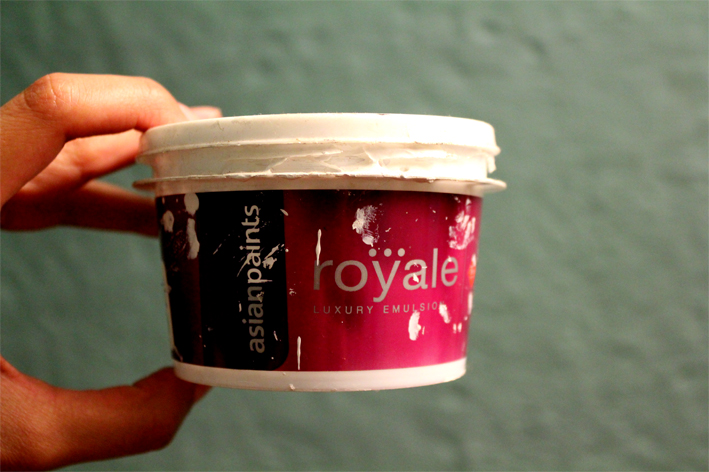
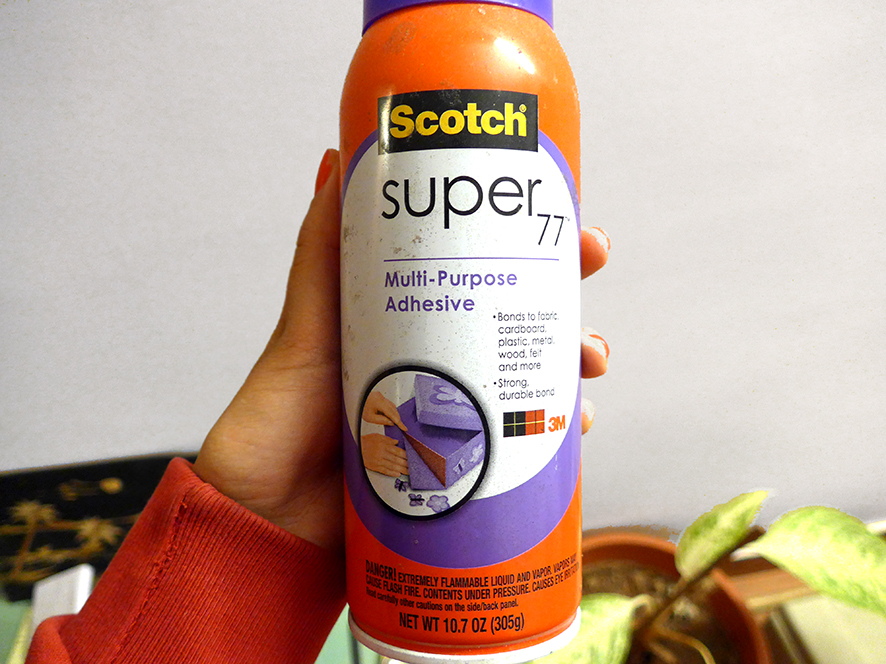
There are two specific things I recommend: If you want to paint the cardboard, do it with wall paint. This is a very thick paint that is easy to apply in larger surfaces and more importantly, allows you to clean the cardboard with a wet cloth once the paint is dry. Also, for gluing layers of cardboard, you can simply do it with white glue, and I recommend getting spray glue, which requires less amount of material to apply, dries faster than white glue and is easier to apply too. After spreading the spray in the layers, you must keep a weight on top of the glued parts, wait for 2-3 minutes and you are done!
